Quick start
This topic guides you on how to quickly get started on using Goldfish to develop your mini program.
Prerequisites
Before you start, make sure you have completed the following steps:
Procedures
Follow the steps below to develop your mini program using Goldfish:
Step 1: Organize directory structure
Organize the directory structure of the mini program project as recommended below:
.
├── src                         Mini program source code directory
│   ├── components
│   ├── pages
│   ├── app.json
│   ├── app.less
│   └── app.ts
├── mini.project.json           Mini program configuration file
├── package.json
└── tsconfig.json
Step 2: Install Goldfish
To install Goldfish, run the following command in the root directory of your project:
npm i @goldfishjs/core -SStep 3: Configure your project
- Add
scriptsto the package.json file in the root directory of your project in order to generate the lib directory after precompiling through Goldfish:
// File path: package.json
{
  "scripts": {
    "dev": "goldfish dev",
    "build": "goldfish compile"
  }
}- Add the miniprogramRoot configuration to the mini.project.json file in the root directory of your project. The IDE identifies the lib directory as the mini program source code directory:
// File path: mini.project.json
{
  "miniprogramRoot": "lib"
}
Note: Create the mini.project.json file if it does not exist in the root directory of your project.
- Import mini-types to the project to enjoy the powerful type inference capability of Typescript:
// File path: tsconfig.json
{
   "compilerOptions": {
      "types" : ["mini-types"]
   }
}
Step 4: Develop mini program
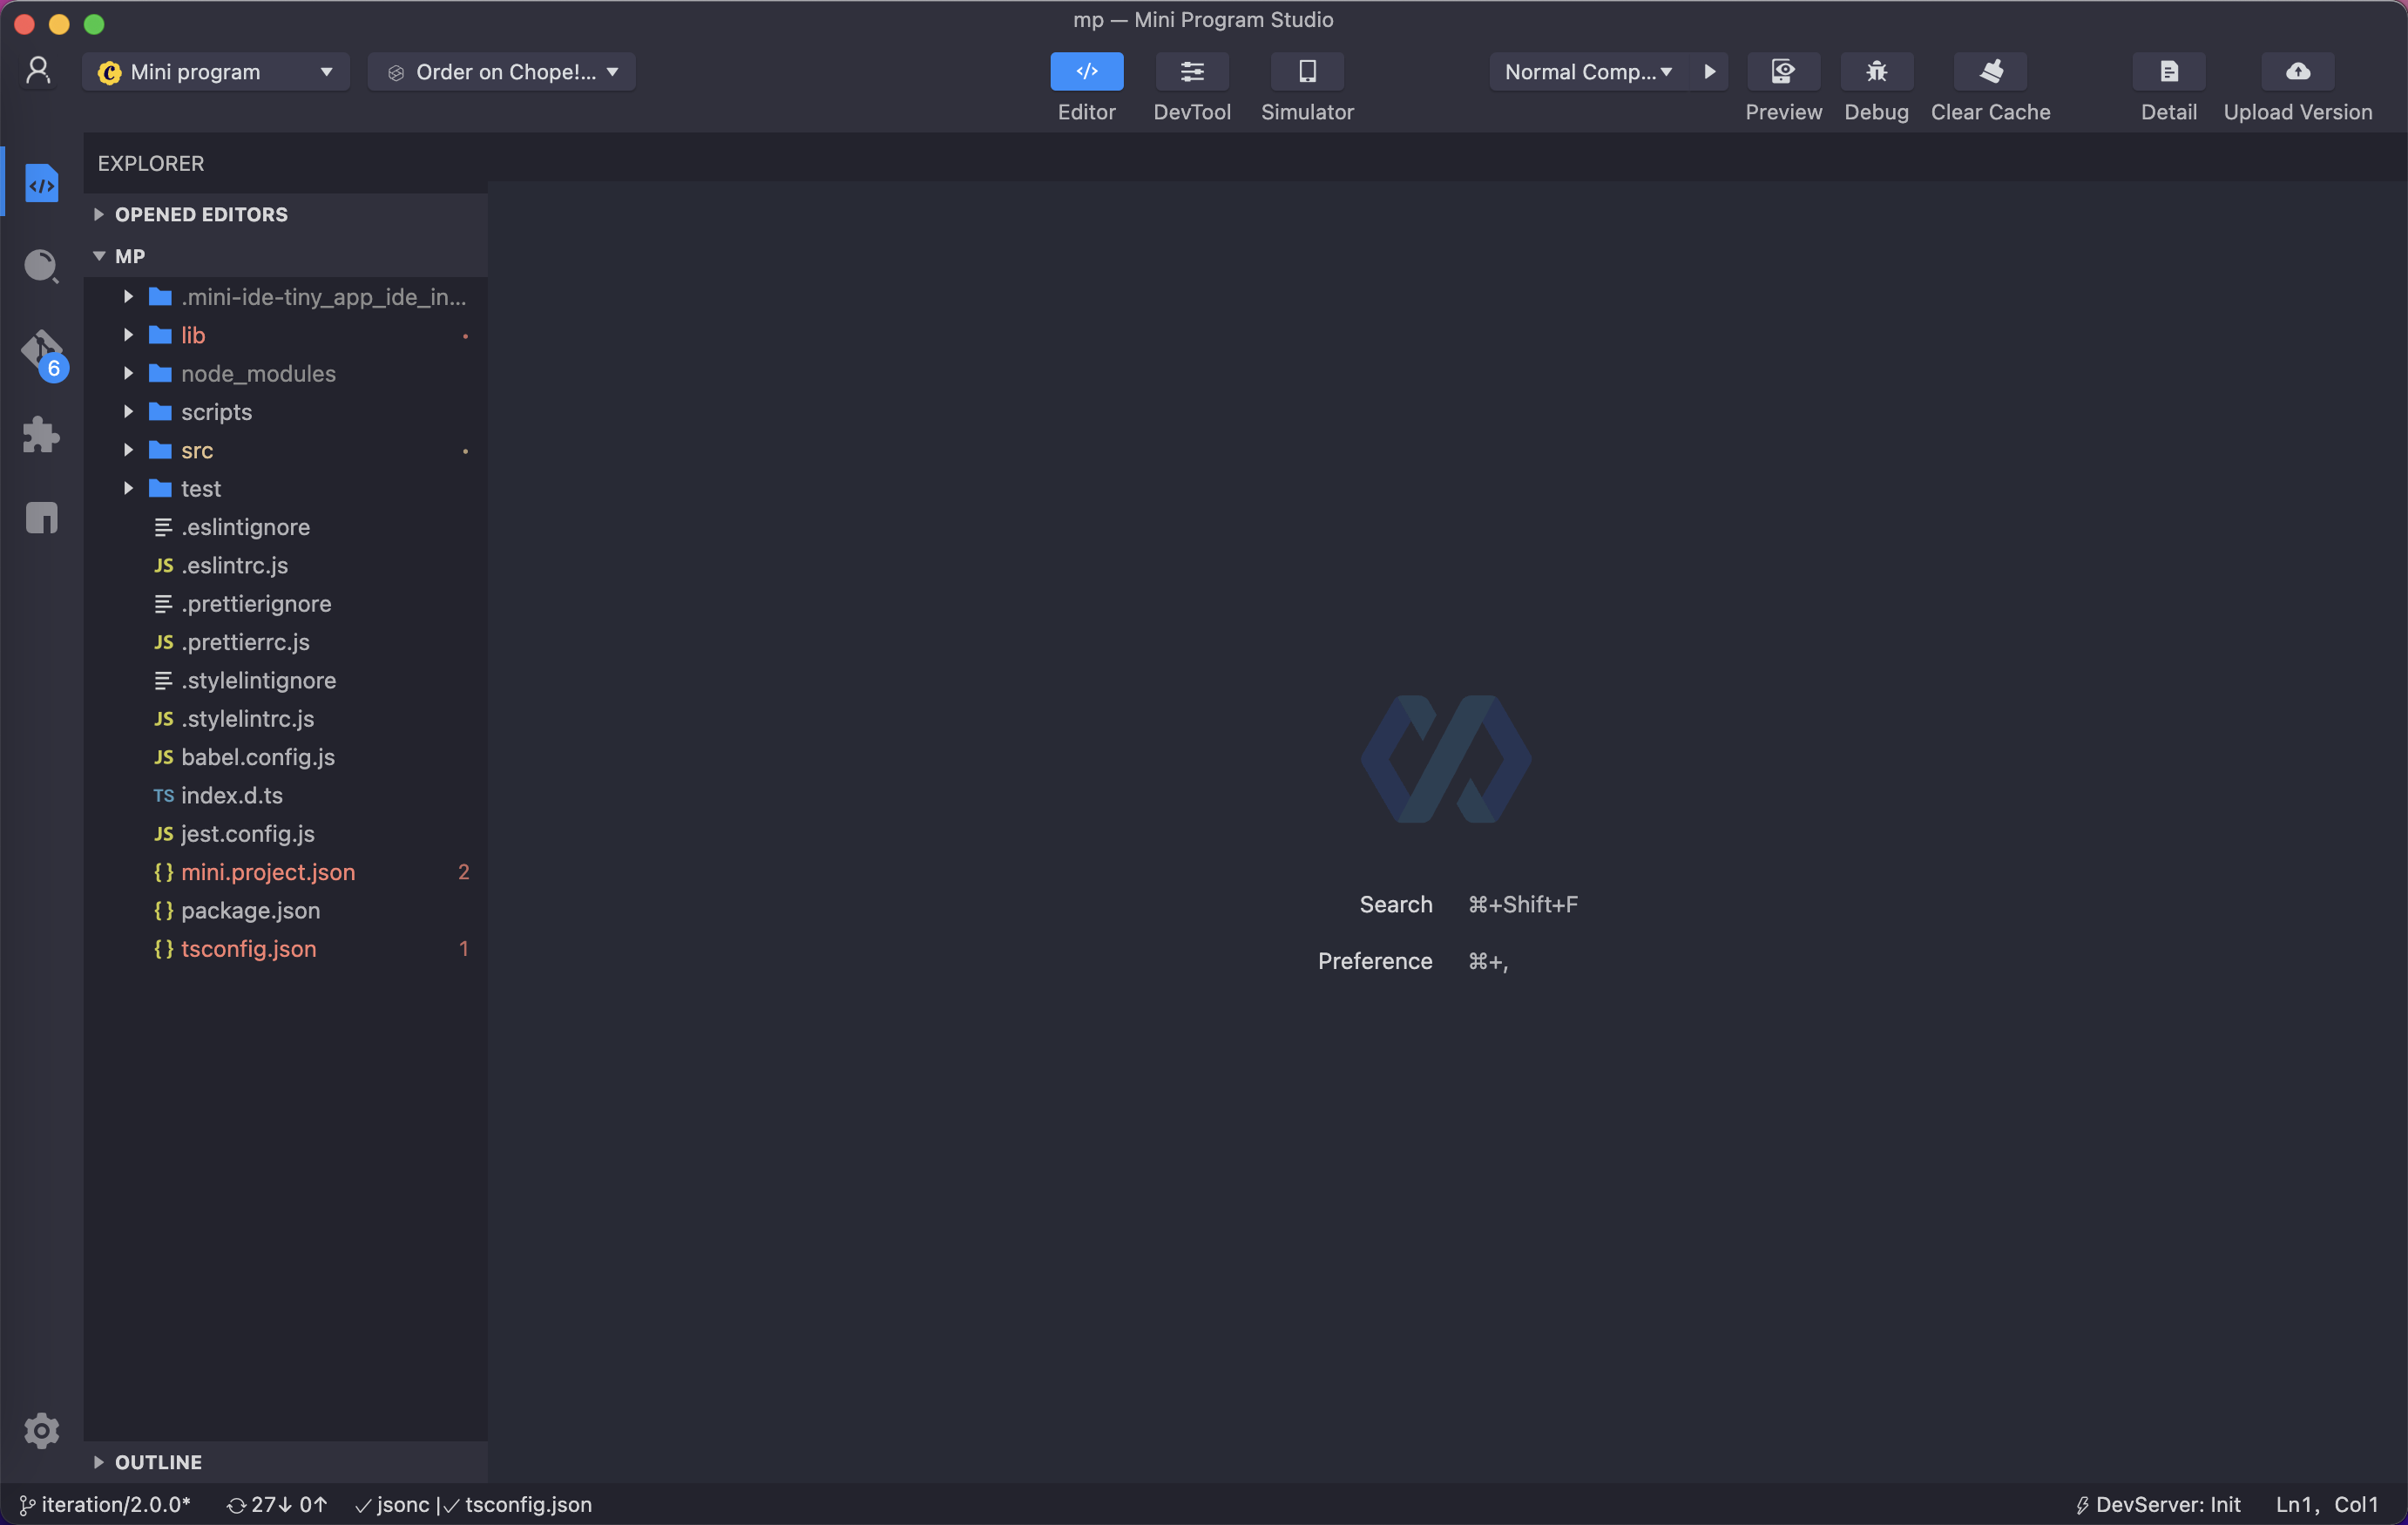
- Use the IDE to open the root directory of your project:

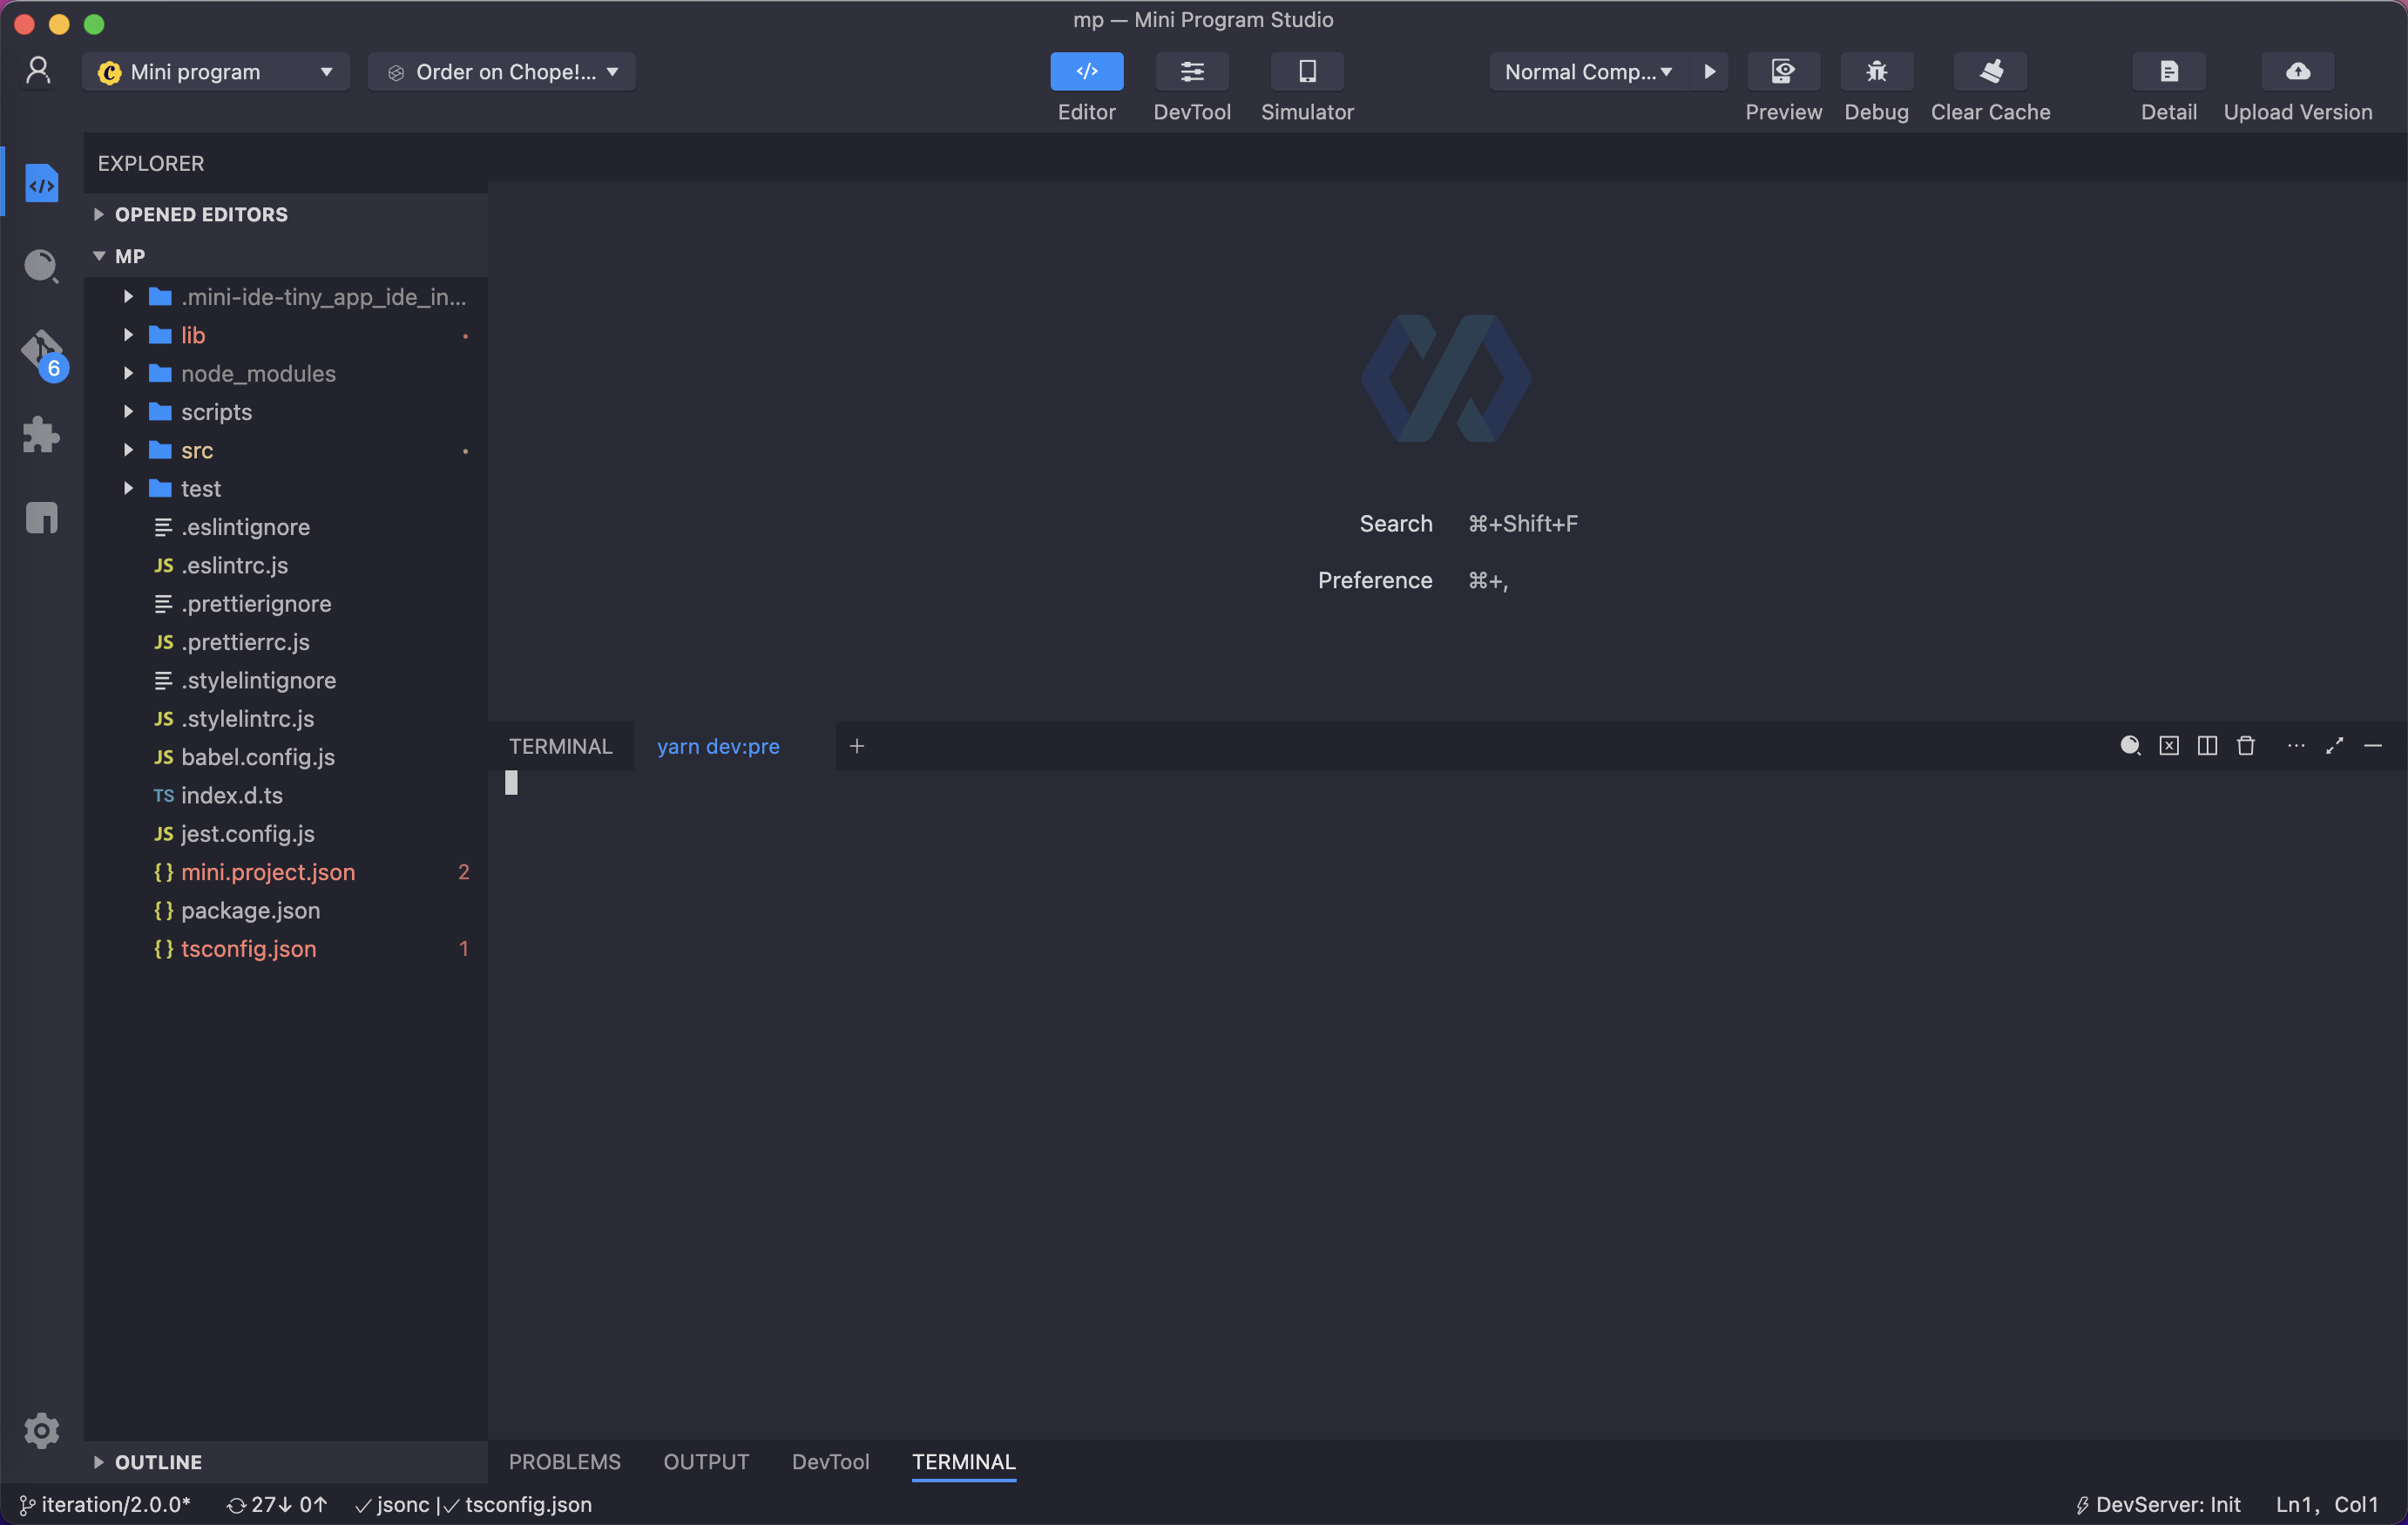
- Open the terminal of the IDE.

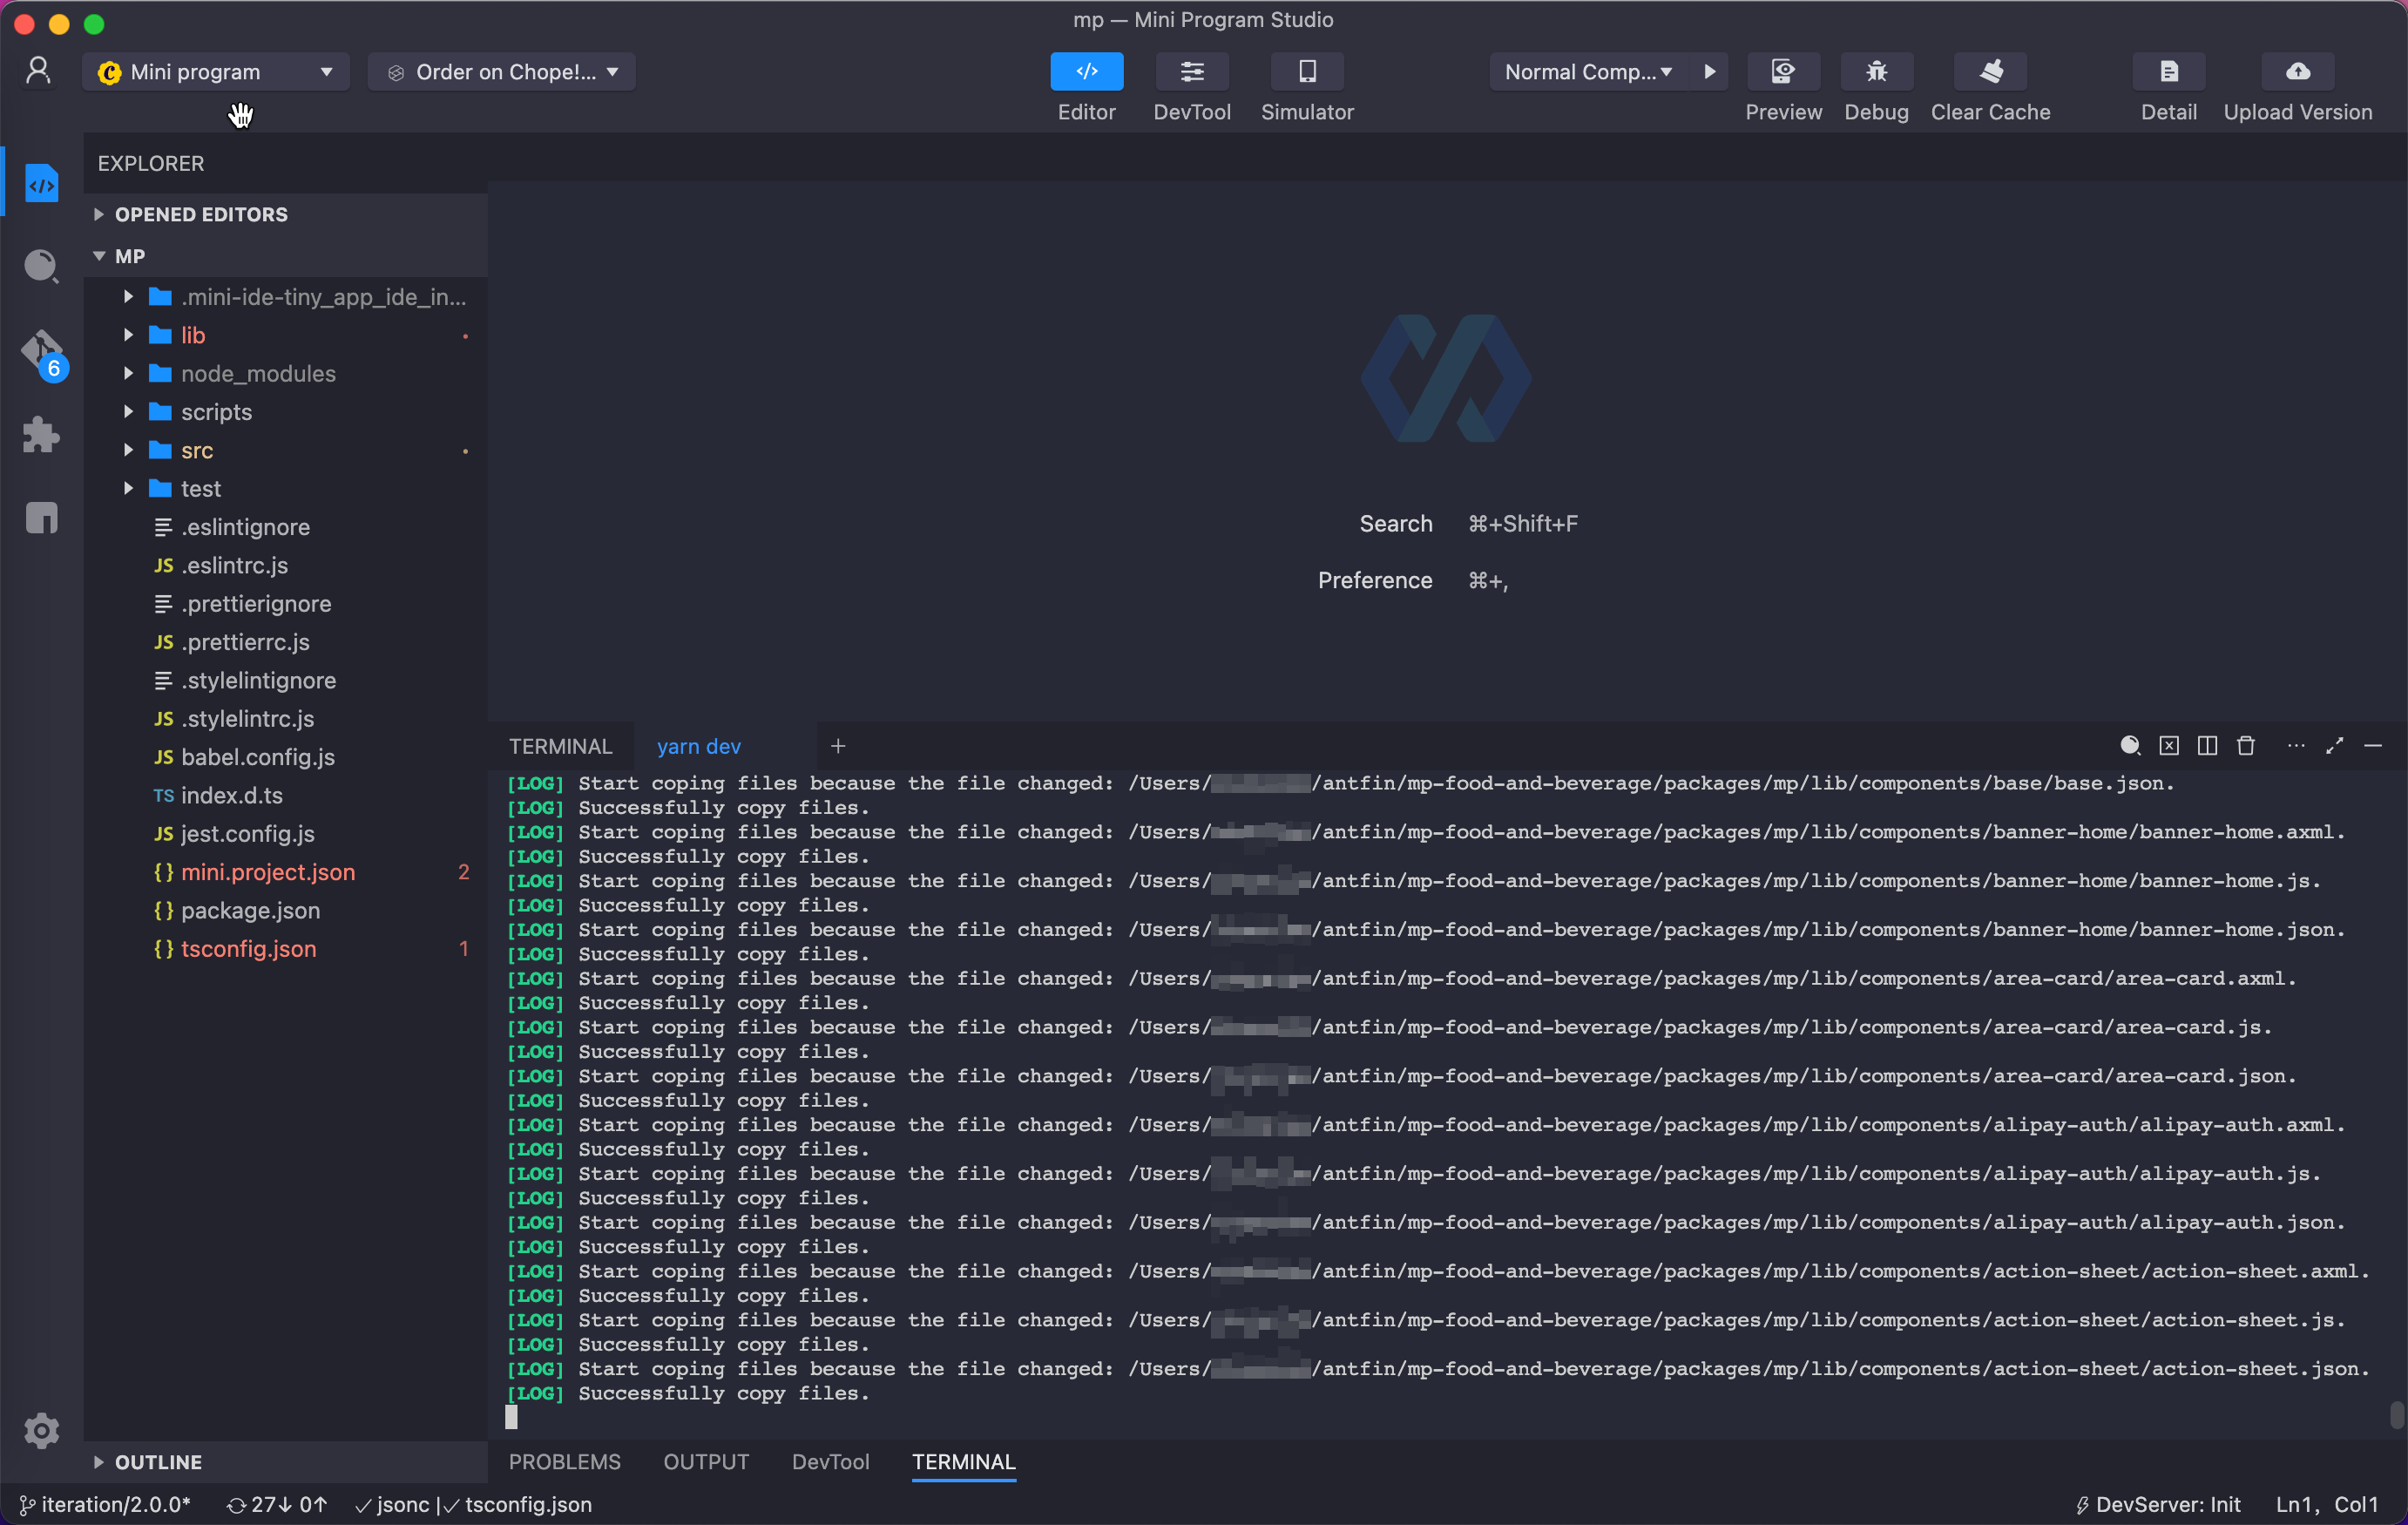
- Run the
npm run devcommand in the terminal:

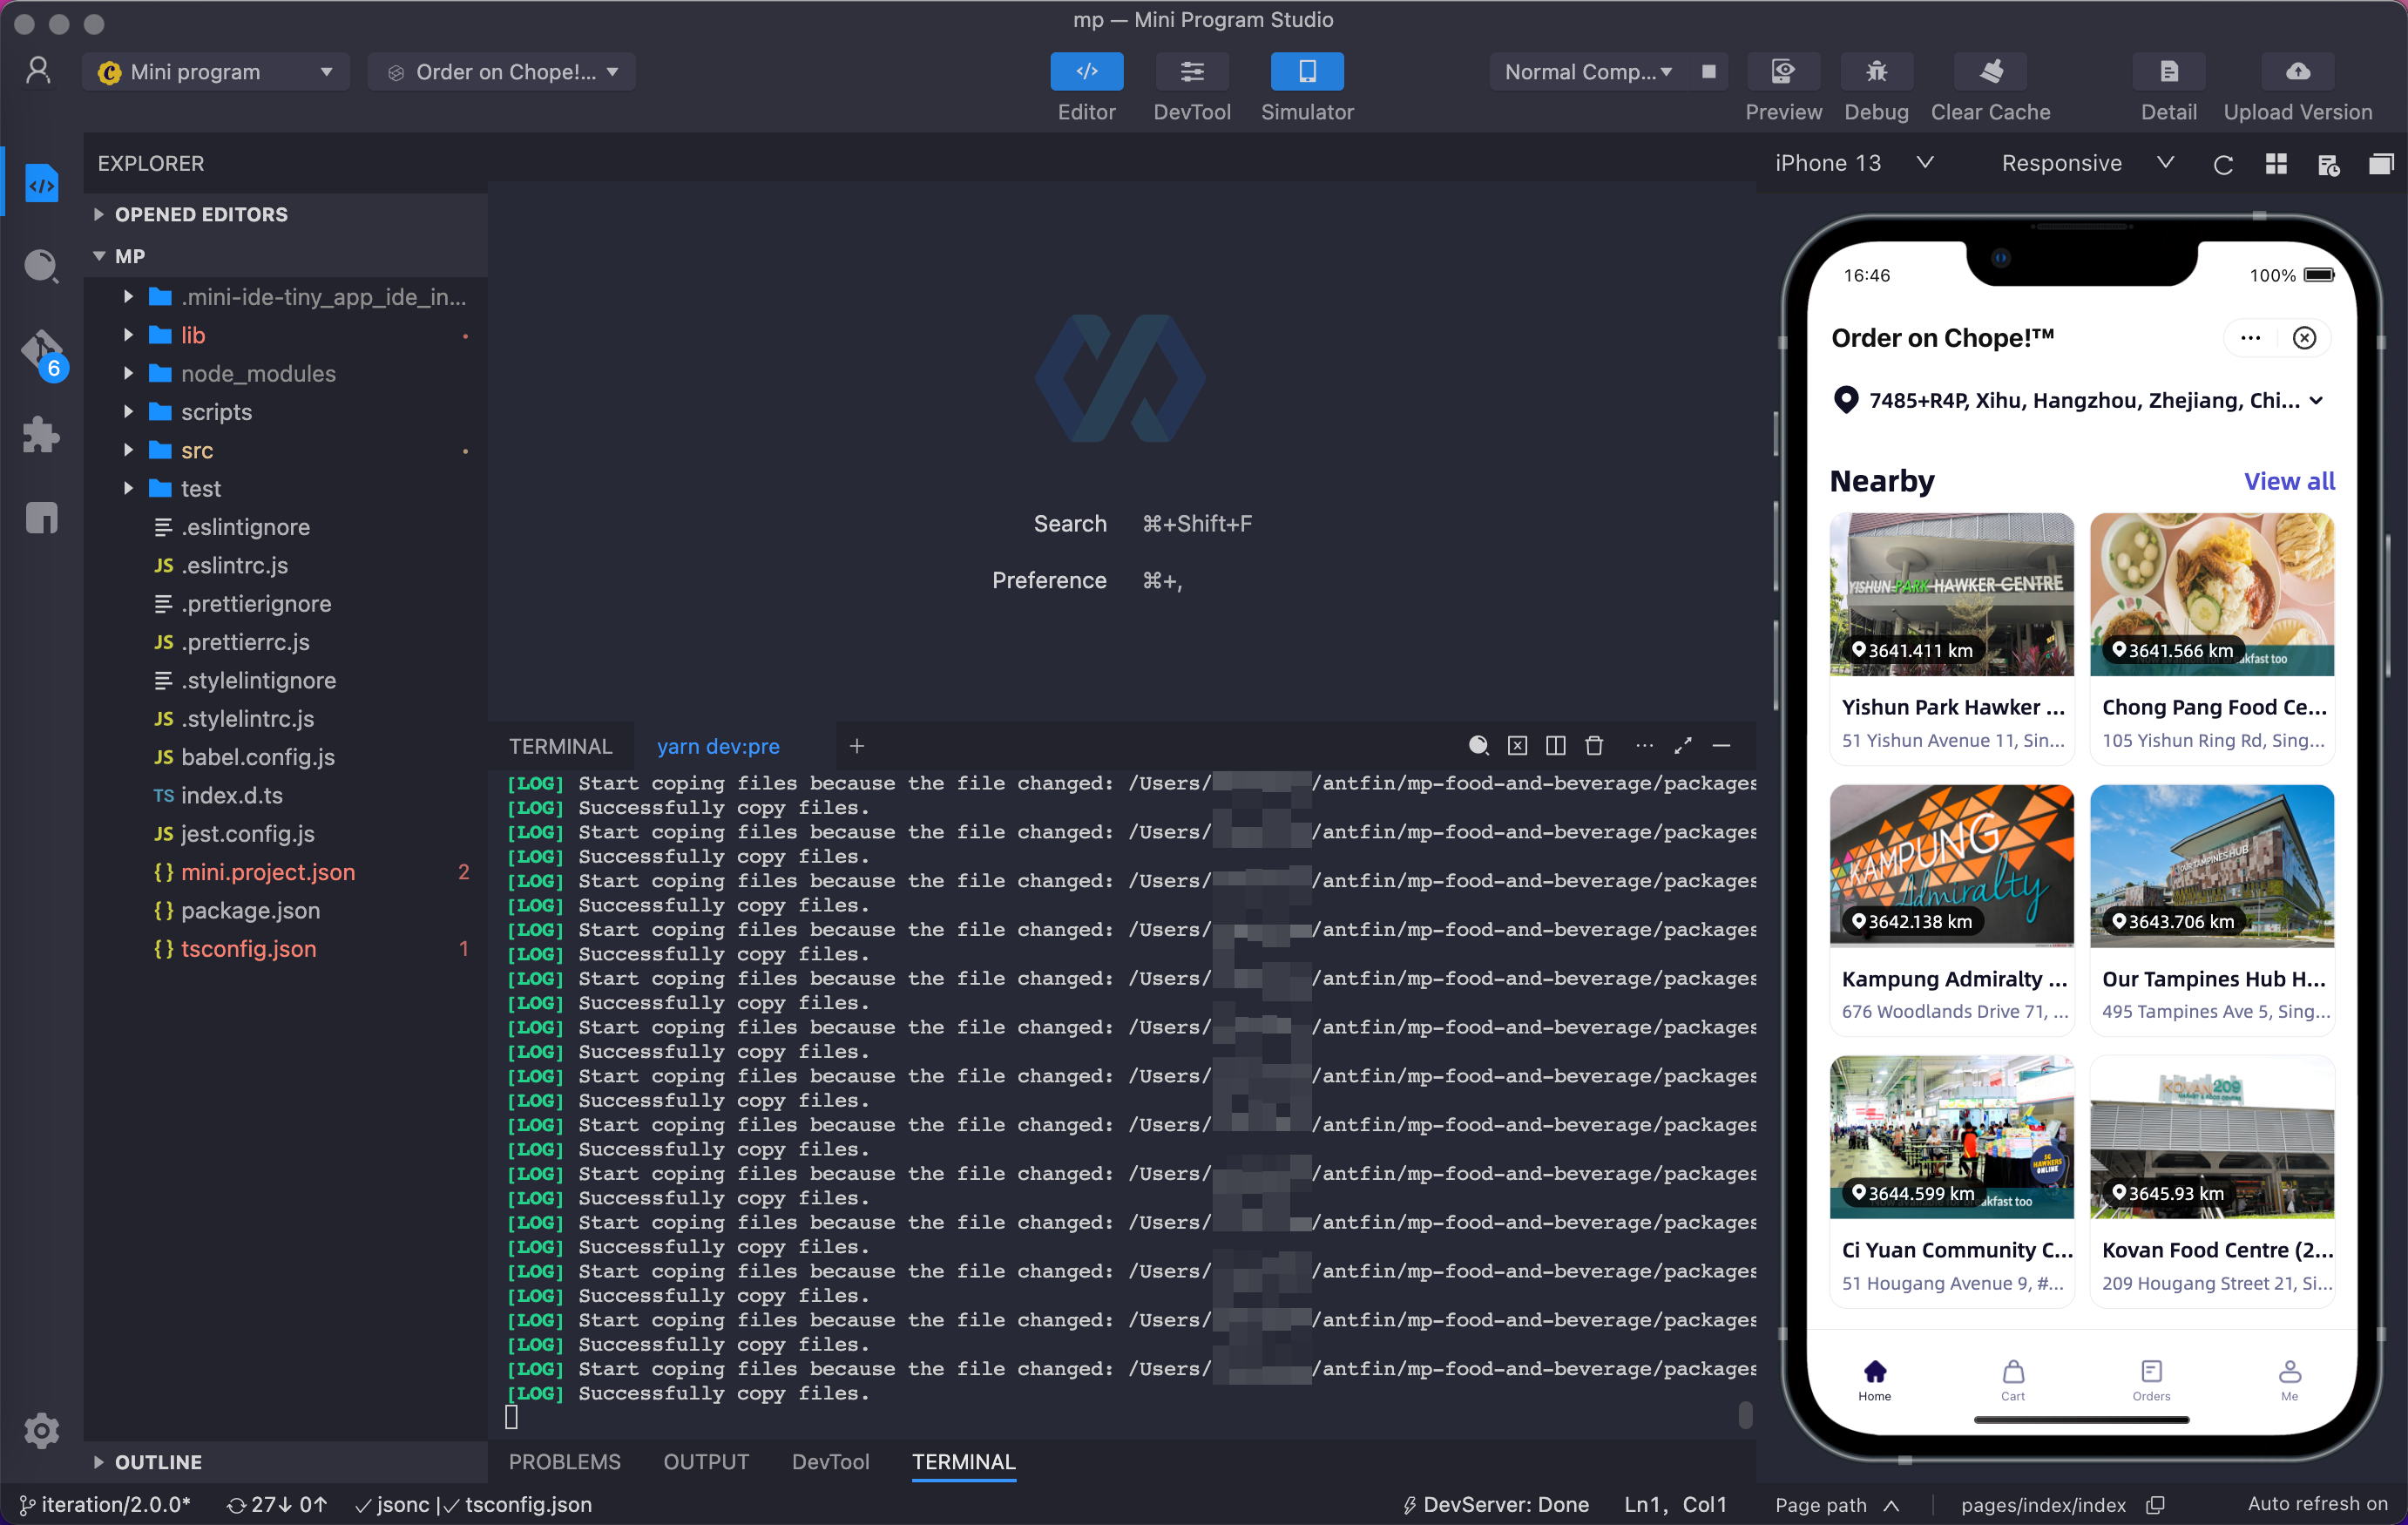
- Click Silmulator to preview the effect of the mini program:

Note: Simulator will automatically display the live effect of the mini program as you modify the code under the src directory.
Step 5: Code mini program
The mini program framework contains three layers: App, Page, and Component. Goldfish provides three corresponding setup functions: setupApp, setupPage, andsetupComponent. With these three setup functions, the mini program framework can connect and access the Goldfish state management logic.
setupAppis used to generate App configurations:
// File path: src/app.ts
// App
import { setupApp, useState } from '@goldfishjs/core';
import IGlobalData from './IGlobalData';

// Connect with setupApp
App(setupApp(useBiz));

function useBiz() {
  const data = useGlobalData<IGlobalData>();
  data.set('userInfo', {
    name: 'Goldfish',
    age: 1,
  });
  return {};
}setupPageis used to generate Page configurations:
// File path: src/pages/index/index.ts
// Page
import { setupPage, useState } from '@goldfishjs/core';

// Connect with setupPage
Page(setupPage(useBiz));

interface IState {
  pages: {
    title: string;
    url: string;
  }[];
}

function useBiz() {
  const state = useState<IState>({
    pages: [
      {
        title: 'State management',
        url: '/pages/state-demo/index',
      },
    ],
  });

  return {
    state,
  };
}
setupComponentis used to generate Component configurations:
// File path: src/components/list/index.ts
// Component
import { setupComponent, useState } from '@goldfishjs/core';

// Connect with setupComponent
Component(setupComponent(useBiz));

interface IState {
  pages: {
    title: string;
    url: string;
  }[];
}

function useBiz() {
  const state = useState<IState>({
    pages: [
      {
        title: 'State management',
        url: '/pages/state-demo/index',
      },
    ],
  });

  return {
    state,
  };
}
Note: To learn more about how to use Goldfish to write business codes, refer to the following topics:
Step 6: Upload a version
- Go to the root directory of your project and run the following command:
npm run build- Click Upload Version to upload your mini program code to Mini Program Development Platform.
